Game Makecode Arcade
Beginner
60 mins
Teacher/Student led
+145 XP

What you need:
Chromebook/Laptop/PC or iPad/Tablet

Target Test

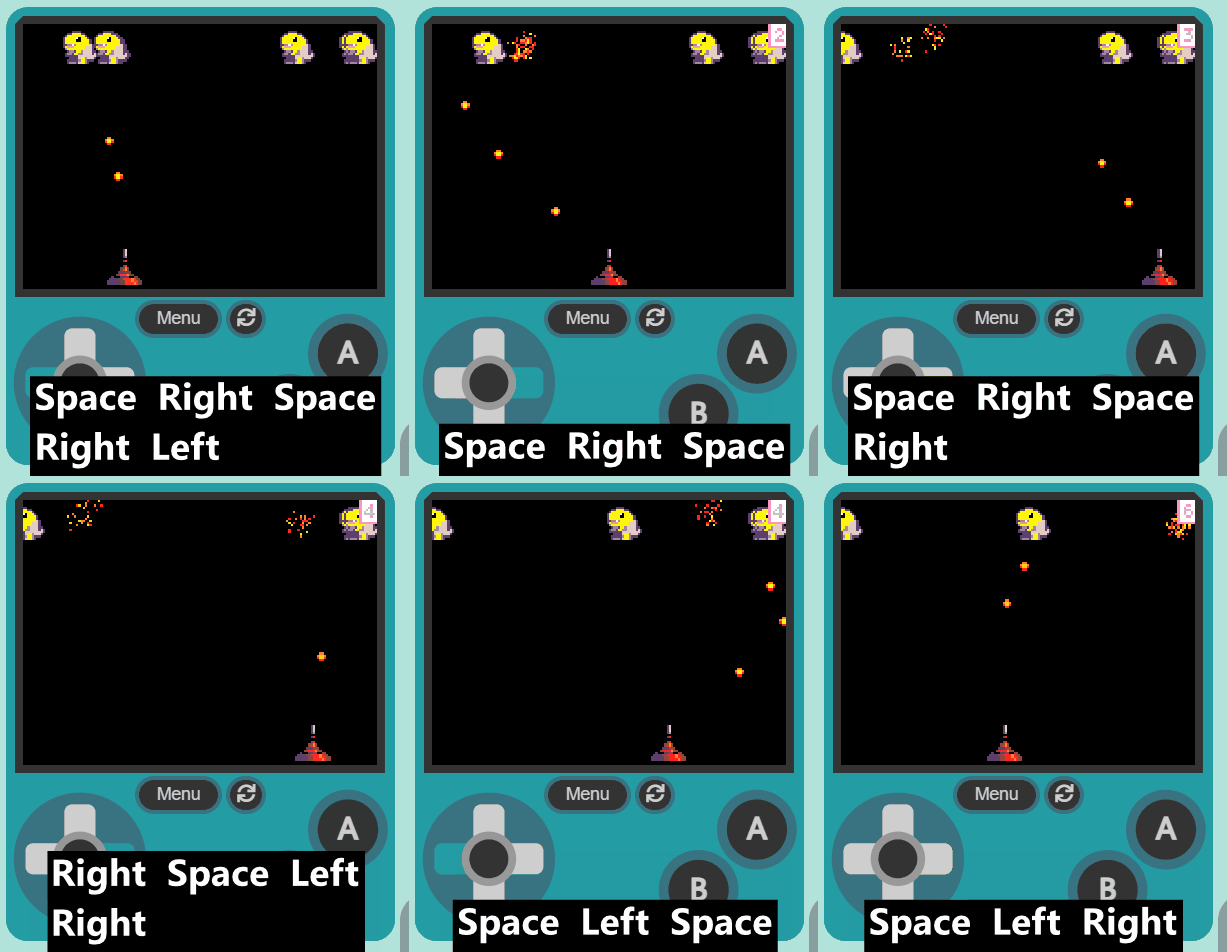
Get ready to create an exciting game with MakeCode Arcade! You'll learn to build a player sprite, move it around, create targets, shoot projectiles, and track your score. Follow the steps to start coding and have fun!
Teacher Class Feed

Load previous activity

    1 - Introduction to Target Test

    Welcome to our Target Test lesson! In this lesson, we will be creating a fun game using MakeCode Arcade. You will learn how to create a player sprite, move it around, create targets, and shoot at them. You will also learn how to keep score. Let's dive in and start coding!


    2 - Start a New Project

    Open the MakeCode Arcade website using the link below and create a new project. You can call the project whatever you want.

    https://arcade.makecode.com

    3 - Create your player

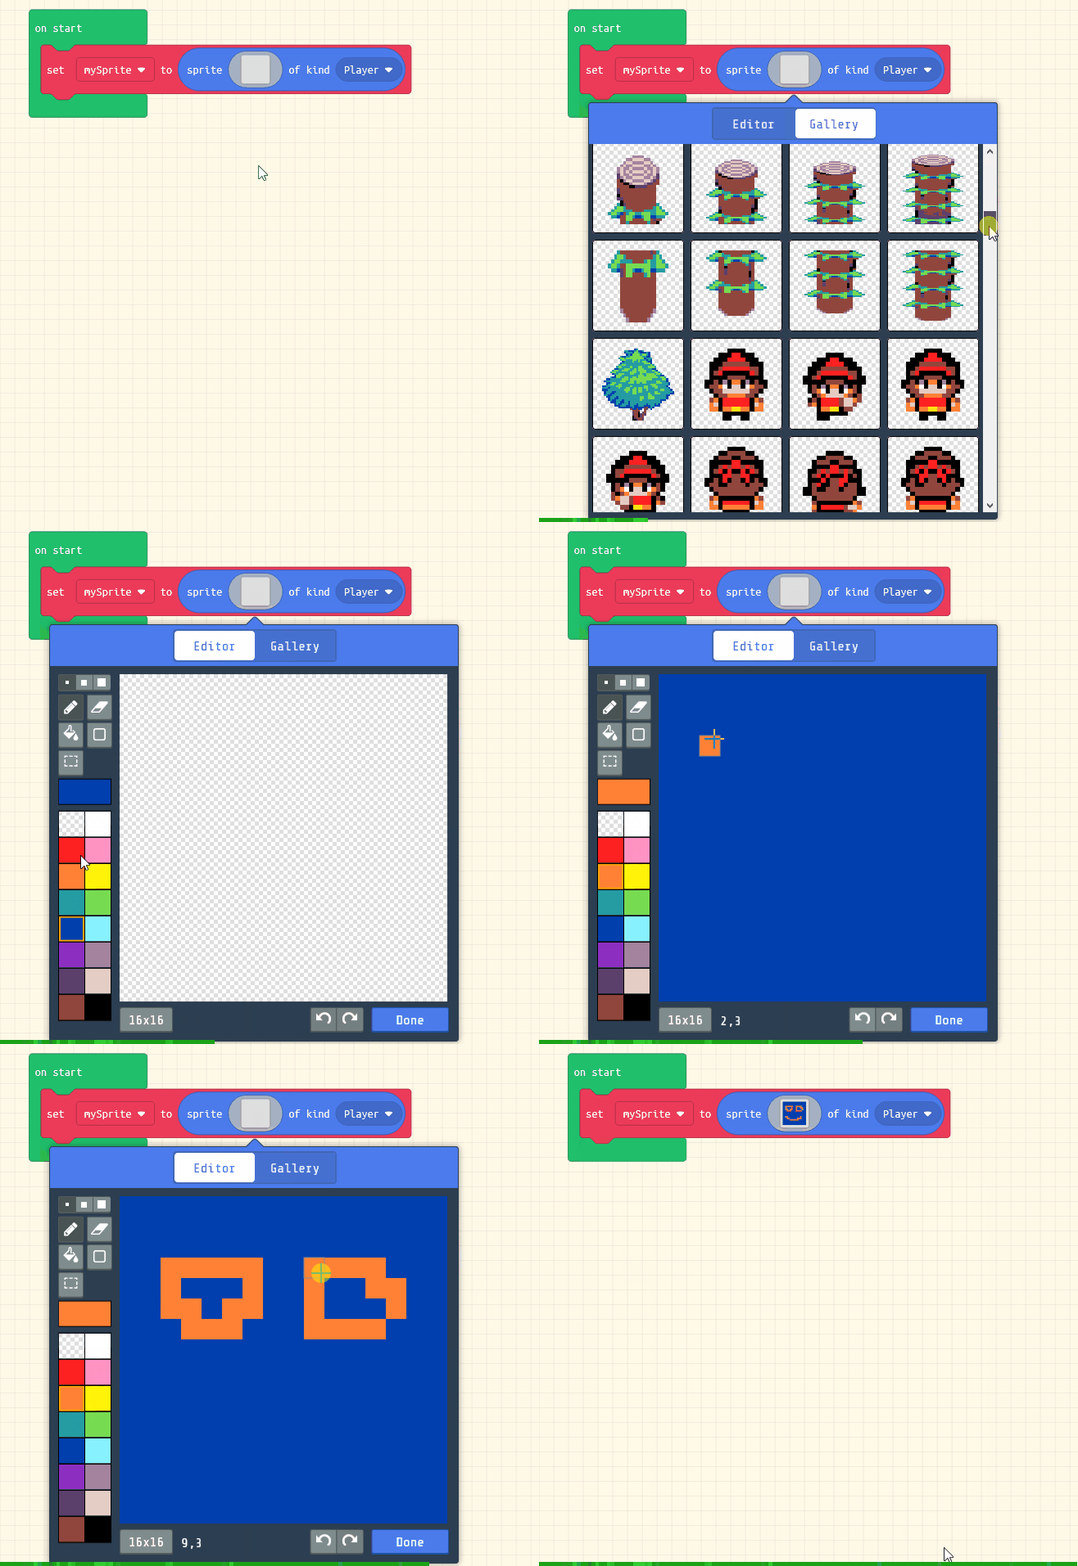
    First let's create our player sprite.

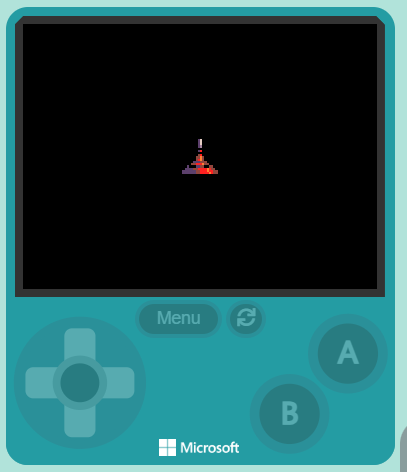
    Add the following code and choose the red space ship sprite:

    let mySprite: Sprite = null
    mySprite = sprites.create(img`
        . . . . . . . c d . . . . . . . 
        . . . . . . . c d . . . . . . . 
        . . . . . . . c d . . . . . . . 
        . . . . . . . c b . . . . . . . 
        . . . . . . . f f . . . . . . . 
        . . . . . . . c 2 . . . . . . . 
        . . . . . . . f f . . . . . . . 
        . . . . . . . e 2 . . . . . . . 
        . . . . . . e e 4 e . . . . . . 
        . . . . . . e 2 4 e . . . . . . 
        . . . . . c c c e e e . . . . . 
        . . . . e e 2 2 2 4 e e . . . . 
        . . c f f f c c e e f f e e . . 
        . c c c c e e 2 2 2 2 4 2 e e . 
        c c c c c c e e 2 2 2 4 2 2 e e 
        c c c c c c e e 2 2 2 2 4 2 e e 
        `, SpriteKind.Player)
    

    4 - Move left and right

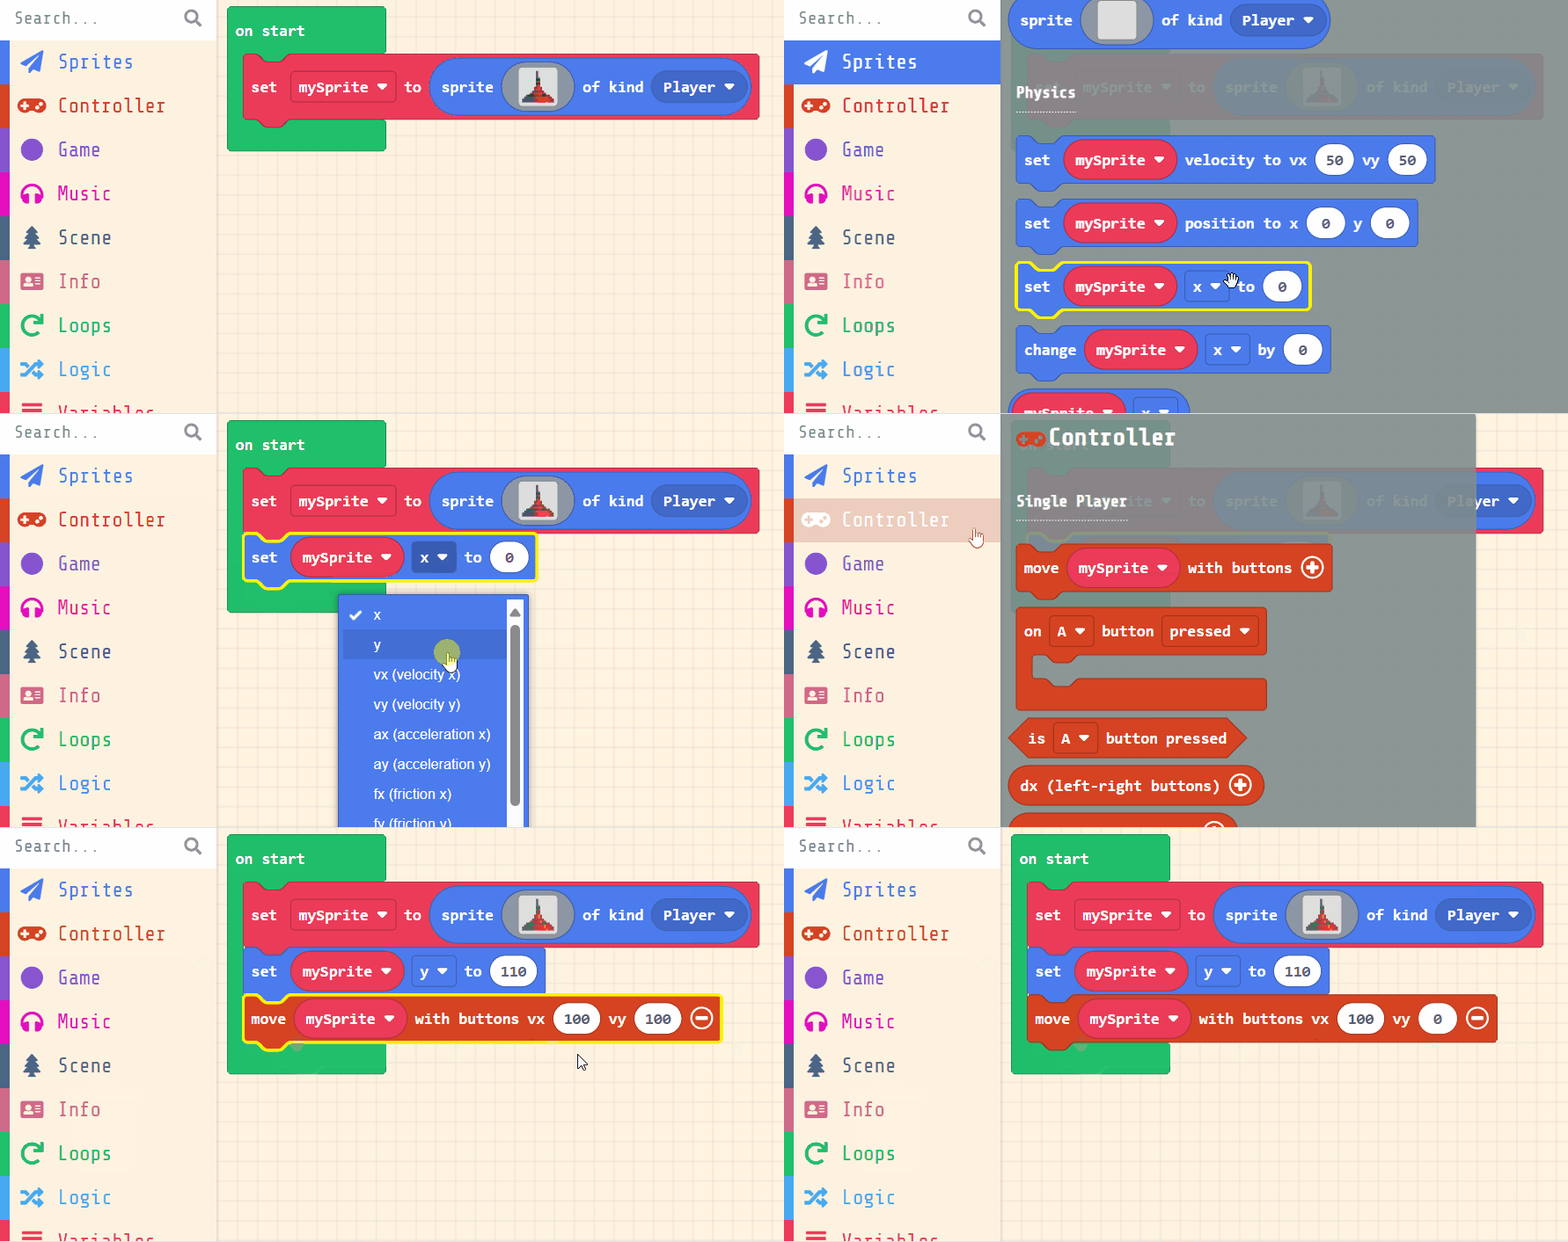
    We want to position the player sprite at the bottom of the screen and use the joystick (or arrow keys on your keyboard) to move it left and right.

    Add the following new code:

    let mySprite: Sprite = null
    mySprite = sprites.create(img`
        . . . . . . . c d . . . . . . . 
        . . . . . . . c d . . . . . . . 
        . . . . . . . c d . . . . . . . 
        . . . . . . . c b . . . . . . . 
        . . . . . . . f f . . . . . . . 
        . . . . . . . c 2 . . . . . . . 
        . . . . . . . f f . . . . . . . 
        . . . . . . . e 2 . . . . . . . 
        . . . . . . e e 4 e . . . . . . 
        . . . . . . e 2 4 e . . . . . . 
        . . . . . c c c e e e . . . . . 
        . . . . e e 2 2 2 4 e e . . . . 
        . . c f f f c c e e f f e e . . 
        . c c c c e e 2 2 2 2 4 2 e e . 
        c c c c c c e e 2 2 2 4 2 2 e e 
        c c c c c c e e 2 2 2 2 4 2 e e 
        `, SpriteKind.Player)
    mySprite.y = 110
    controller.moveSprite(mySprite, 100, 0)
    
    Make sure you select y in the position block and put in a value of 110. This will make the sprite go to the bottom.

    Click the + on the move block and have values of vx 100 and vy 0. This means we can move the sprite left and right (vx) but not up and down (vy).
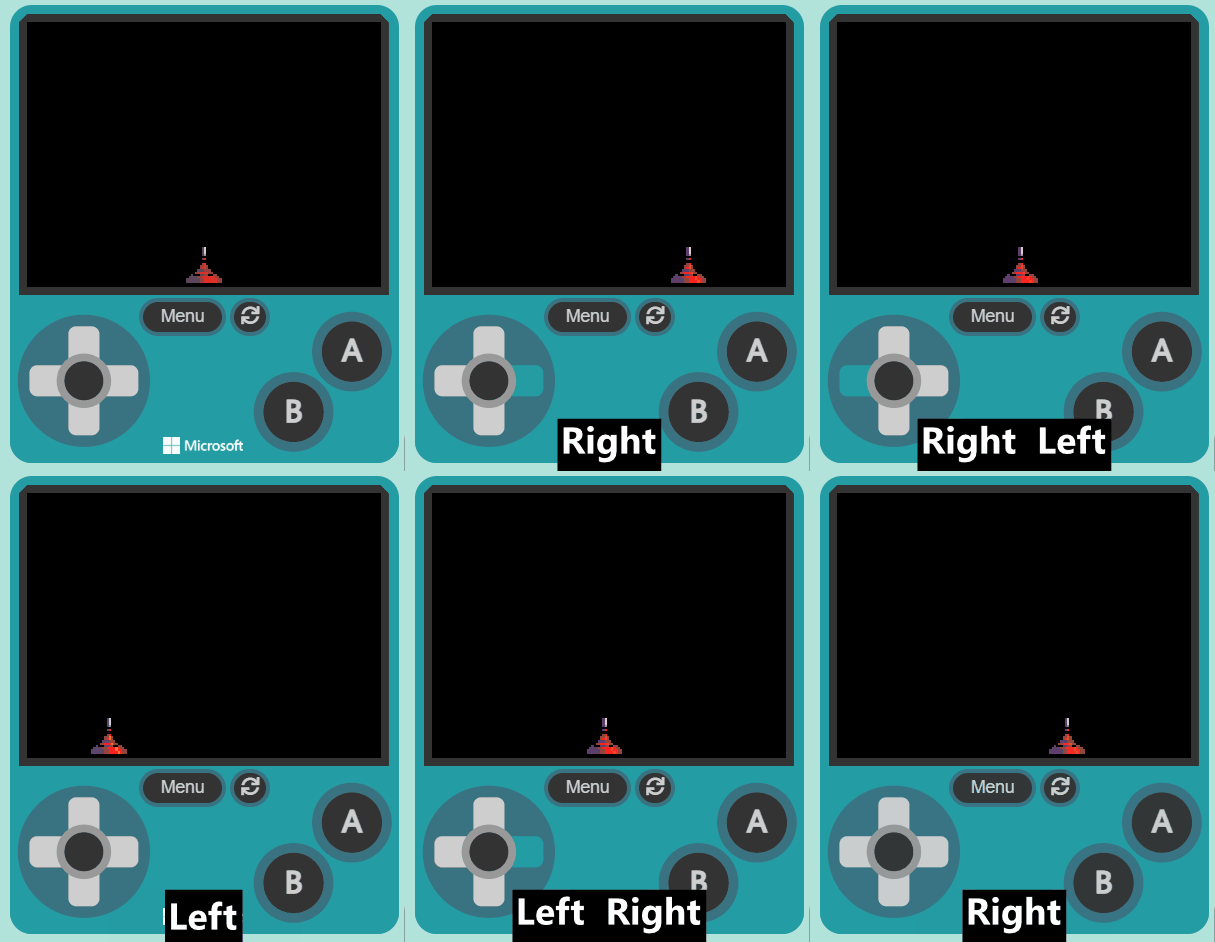
    Once you've added the code check to see that your space ship is at the bottom and you can move it left and right.


    123learn · Online learning platform

    Unlock the full learning experience

    You're previewing this lesson. Get full access to this lesson and hundreds more — each one ready to teach, with interactive activities, printable resources and pupil progress tracking built in.

    Hundreds of curriculum-aligned lessons
    Interactive activities in every lesson
    Printable resources & progress tracking
    Copyright Notice
    This lesson is copyright of 123Learn.ie 2017 - 2026. Unauthorised use, copying or distribution is not allowed.
    🍪 Our website uses cookies to make your browsing experience better. By using our website you agree to our use of cookies. Learn more