Mathematics
Intermediate
39 mins
Teacher/Student led
+80 XP

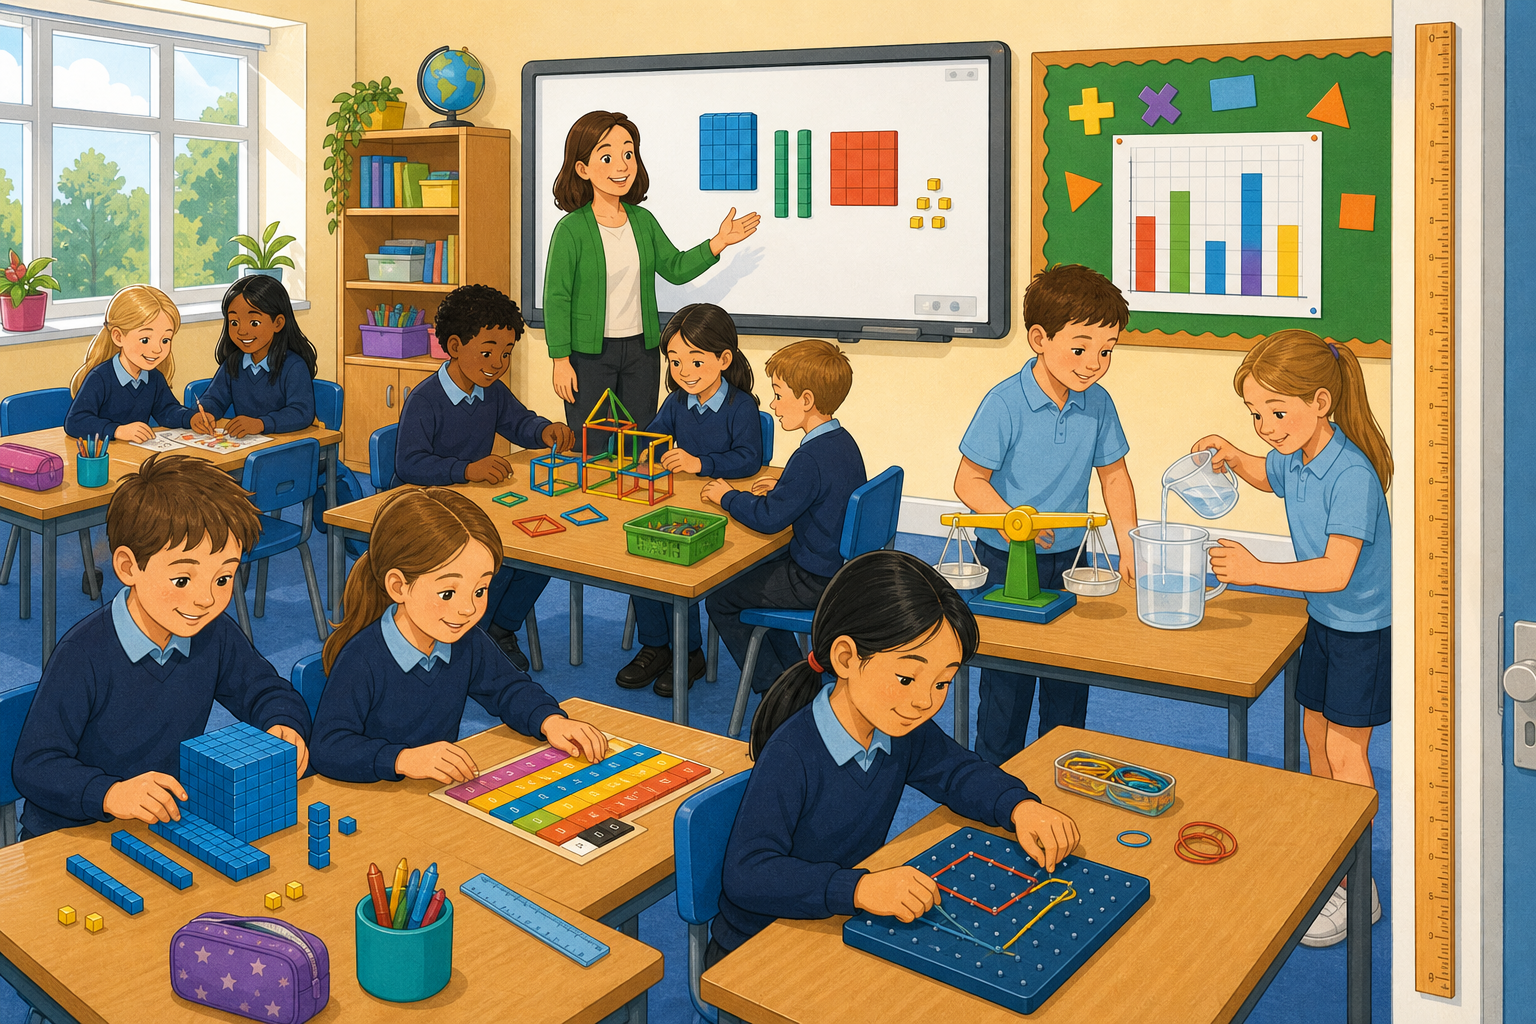
Length: Metres and Choosing the Right Unit
Learn when to use metres instead of centimetres by measuring longer lengths around the school space with a metre stick, then sort and estimate distances to practise choosing the right unit.
 Watch the metre ruler on the screen. A whole metre lines up exactly with the metre stick — one stick, one metre. A length of corridor takes two metre sticks laid end to end. Now look at the ruler the teacher is holding: a desk is about
 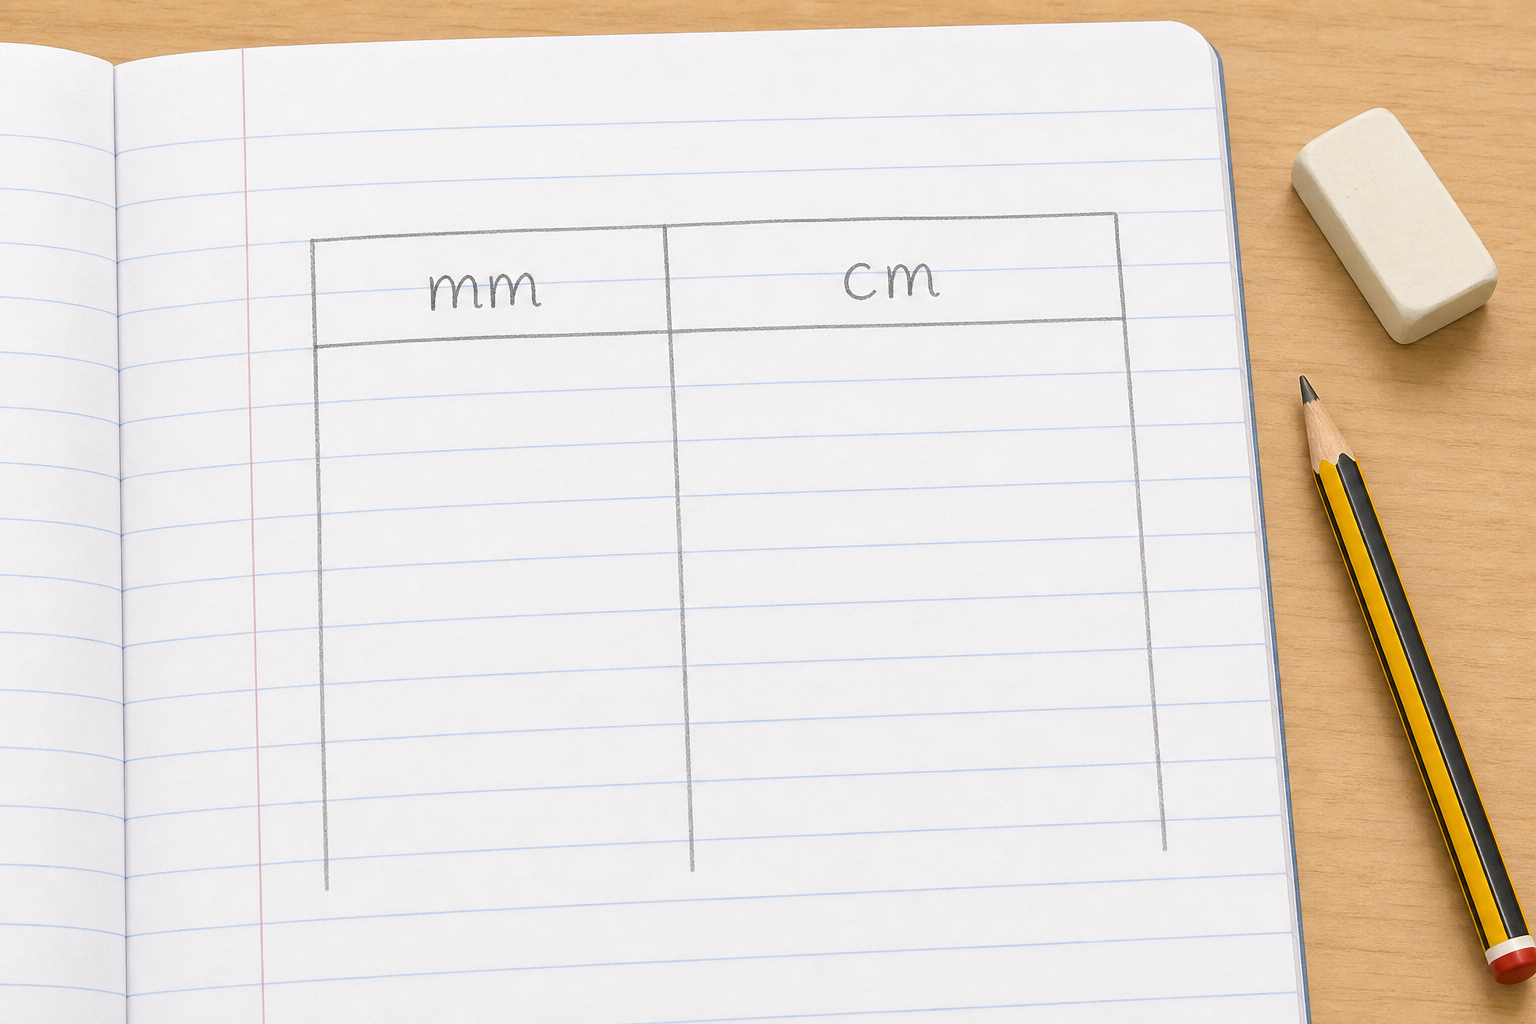 In your maths copy, make two columns headed "metres" and "centimetres". Then sort these six lengths into the column you would use to measure each one: