Picture three spaces in our school: the corridor, the playground, and this classroom. If you had to bet, which one is the longest, and which one is the shortest?
Here is the catch: you can't walk them, you can't pace them, you just have to picture them in your head and decide. Hands up when you've made your choice.
Take three hands-up answers, not open call-outs. Don't settle the argument yet — the disagreement is the hook. How could we settle this without walking each one? is the question that opens the lesson.
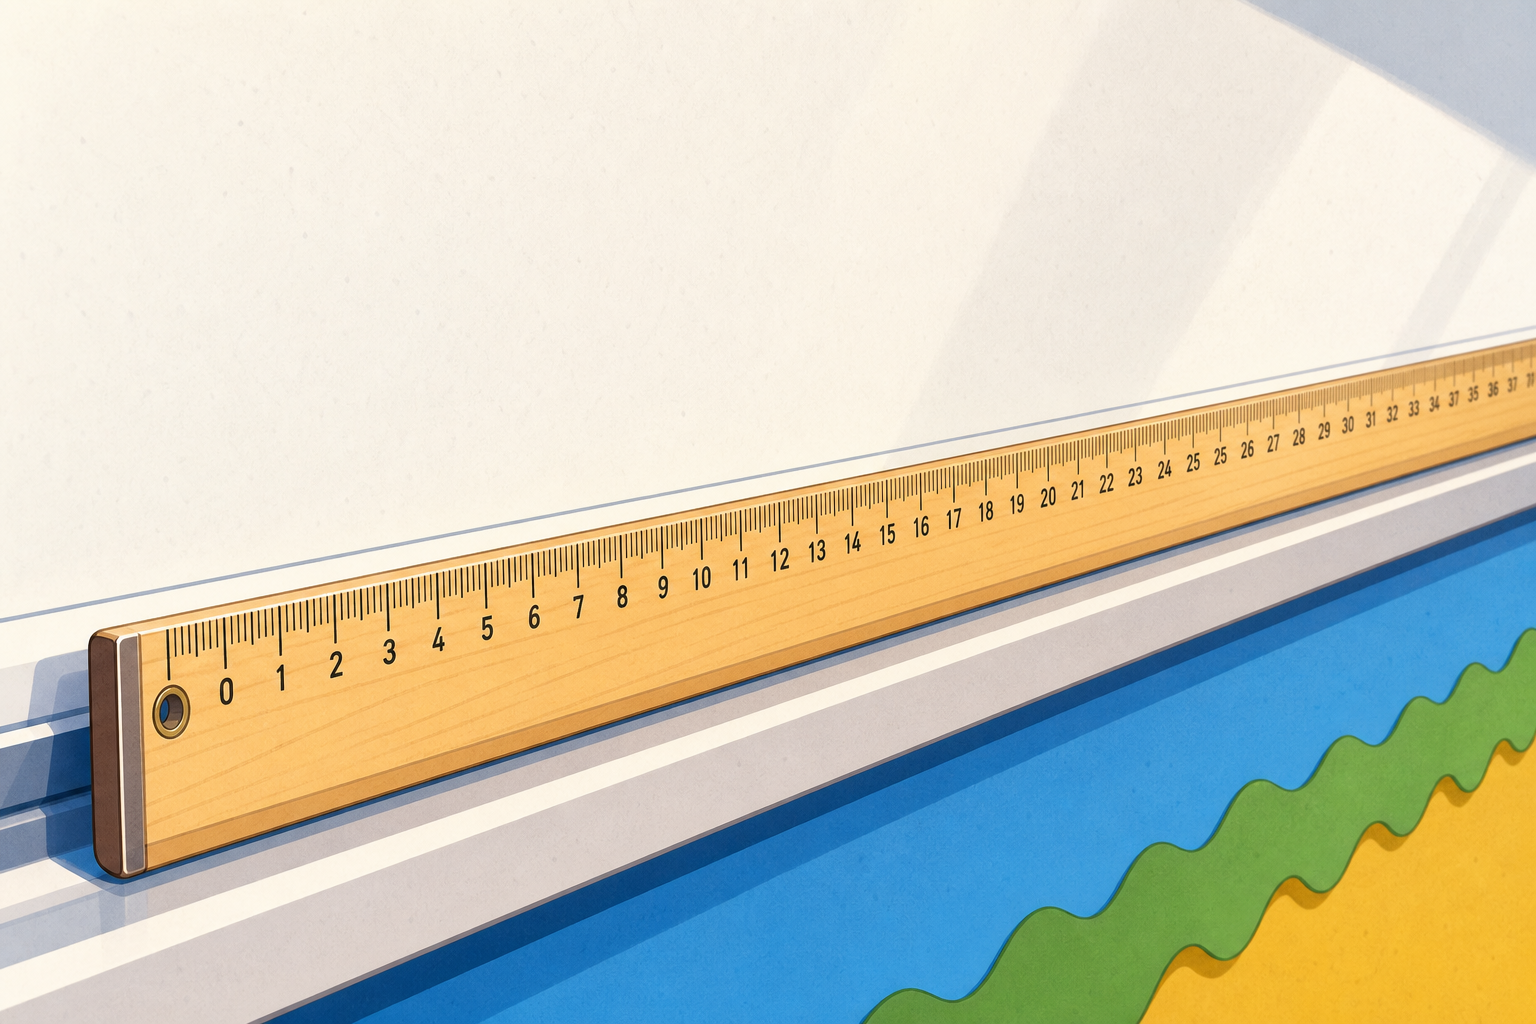
Watch closely. I'm holding our metre stick against three things in the room.
First, the board rail. Before I lay the stick along it, who will estimate: how many metre sticks fit across it? Now watch as I lay the stick down and count.
Next, this Maths book held lengthways. It's much shorter than a metre — so we measure it in centimetres along the stick instead.
Last, the classroom door, top to bottom. Estimate first, then watch me check. Every time, the same rhythm: estimate first, measure second.
This is a real demonstration with the metre stick at the front, not an on-screen widget. Hold the stick up at eye level so the whole class can see the marks.
Keep the estimate-then-measure order every single time — the moment you measure before estimating, the thinking the lesson exists to build is gone.
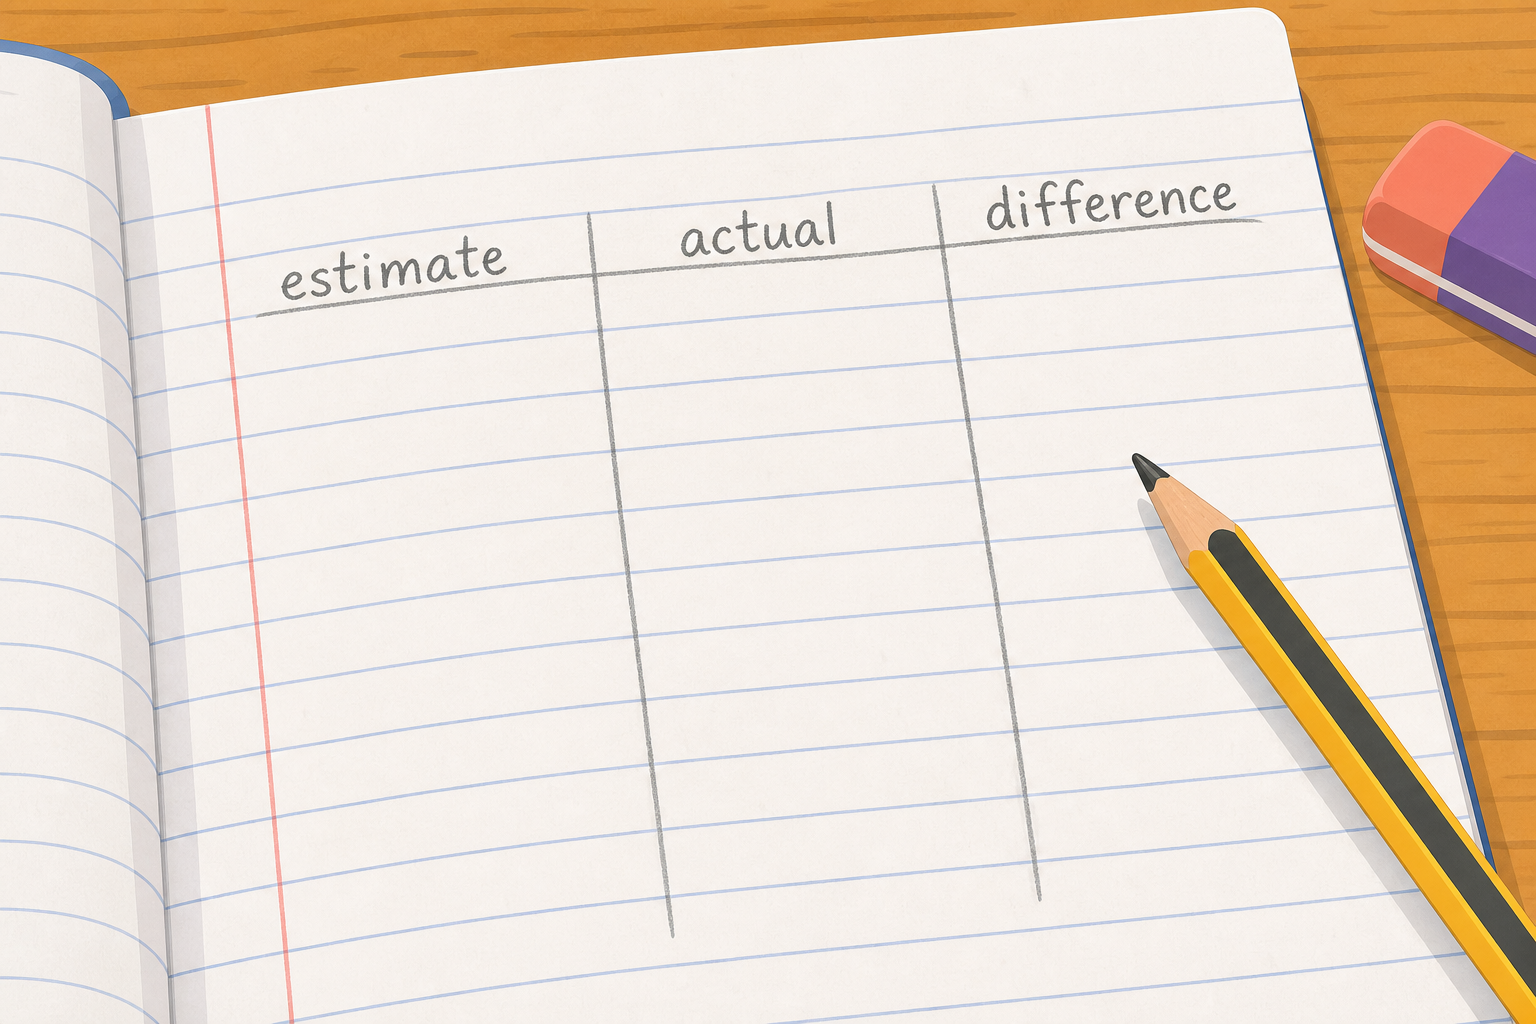
In your maths copy, set up a three-column table ready to fill in. Head the columns 'estimate', 'actual', and 'difference'. Leave a few rows underneath so you have room for the lengths we measure together.
Walk the room glancing at column headings and that the rules are straight — no marking, this is whole-class copybook practice. The table is the recording frame for the next two steps, so make sure every pupil has it ruled before moving on. Pupils may use the printable recording sheet instead of ruling their own table if you prefer.
You're sitting in groups of four or five, and each group has one metre stick to share. Today we measure three lengths in our classroom together: the teacher's desk, the width of the door-frame, and the distance from the front wall to the back wall.
For each one, write your estimate in the 'estimate' column first. Then take turns: one person in the group lays the metre stick end-over-end while the others watch that it starts at zero and that there are no gaps, and call out the reading. Write the real length in the 'actual' column, then work out the difference and write it in the last column.
This round is for pupils to measure at their desks and around the room with their own group's metre stick — circulate and catch alignment slips on the spot. Each group has one metre stick and takes turns; the watchers check the start point and gaps and call the reading. The class reads aloud and you reconcile any disagreement as you circulate.
Groups of four or five, one metre stick, one copybook and one pencil per group. Assign each group one of the three routes. Take the class to whatever flat space your school has room in — yard, hall, or corridor. Before the lesson, mark three routes with chalk or masking tape: a Short route under 1 m, a Medium route around 5 m, a Long route 10 to 15 m.
If the yard is unusable, run the same Short / Medium / Long structure indoors — masking tape for the Short line, a stretch of the hall or classroom for the Medium, the full length of the corridor for the Long.
This round is the practice bank — real routes are marked around the room (or in the hall/yard). Assign each group one route so the physical load stays manageable, then pool readings on the board so the whole class ends with all three. Keep the rhythm brisk; the class confirms each reading aloud at the end.
What made your best estimate of the day a good one? Was it comparing the length to something you already knew, like the metre stick or the door? Was it breaking a long route into smaller chunks? Which routes were hardest to estimate, and why?
Listen for pupils naming a strategy, not just a number — comparing to a known anchor, or splitting a long length into parts. Revoice the strongest one: so you didn't guess the whole 12 m at once, you pictured it as two of the 5 m route plus a bit more. Head off the idea that a good estimate is just a lucky guess — name that the reliable estimates all used a known length to lean on.
Next we look more closely at the smallest marks on a ruler and read lengths to the nearest millimetre.
Close by pointing back at the opening corridor-versus-playground bet — did the measuring settle it? Link forward: today we measured to the nearest metre or centimetre, next lesson we get more precise, down to the millimetre.
You're previewing this lesson. Get full access to this lesson and hundreds more — each one ready to teach, with interactive activities, printable resources and pupil progress tracking built in.