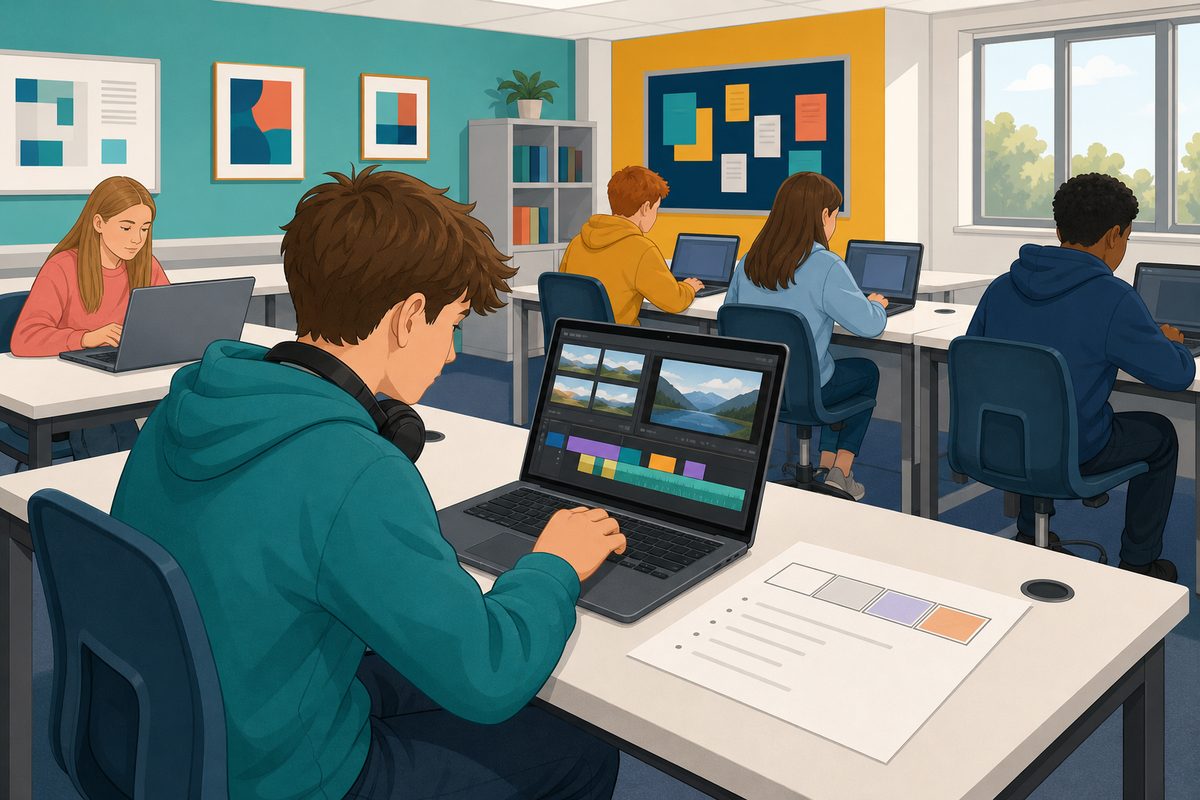
 Today you will open your editing tool and build your montage, the piece of pictures, sounds, clips or animation you planned. Leave captions and credits for next time.
Sign in first if your tool needs it (Canva does). Then open your files, saved the class way. Your plan and source log are on screen in the Hands-on step.
If your plan or files are missing, write a one-line plan in Enter Your Work on the Hands-on step: your topic, your tool and three beats, meaning three moments your viewer sees or hears. Then build a short sequence with one file you are allowed to use.
Your montage is assembled, which means put together, when you can tick all four of these:
- your pieces are in the tool in the order from your plan
- each piece is about the right length or size
- it plays or reads from start to finish with no big gaps or missing files
- you have not spent the lesson on captions, credits or finishing touches

Open the tool your plan named. Canva is for pictures, AudioMass for sound, Snip Studio for video and Wick Editor for frame-by-frame animation. Only use files on your source log.
If your montage has sound playing under pictures or clips, put them together in Snip Studio, the way the music went under the globe and the fire: pictures and clips on the top row, the sound on its own row underneath, so they play at the same time. Get the sound ready in AudioMass first if it needs cutting.
- Open your files, saved the class way. Your plan and source log are in Your project so far above.
- Open the tool your plan named, and sign in only if it needs it.
- Start or open your project and give it a clear name that includes your name or initials.
- Place the pieces in the order your plan says, from start to finish. Do not move things around for style yet.
- Trim, crop or resize a piece only if it is clearly too long, too short or the wrong shape.
- Test your sequence. Play it once from the start and check it against the four checklist points on the board. Then write one fault to fix next (a gap, a wrong order, a clip that runs too long or a missing file). Write it at the end of your plan: Enter Your Work under this step opens with your plan. Press Save.
Only use files you logged as free to reuse, and keep your source log open so you can note any file you swap.
Stay on your own montage. Only help a neighbour if your teacher pairs you up for a quick fix on the same tool, and then go back to your own project.
Use this time to finish putting your montage together, which is today's goal.
- Place any pieces you have not placed yet, so the whole sequence is there from start to end. If you are using the one-line plan from the start of the lesson, place your three beats.
- Test your sequence again. Play it from the start and check it against the four checklist points on the board. Then fix the fault you wrote at the end of your plan.
- Preview it once more. It should play as one piece from start to end, even if it is still rough.
- Save the project the class way before you close the tool, because the browser on a shared device will not keep it for you.
Your pieces are in order, the sequence plays through and matches the four checklist points, and your file is saved the class way. Captions, credits and finishing touches wait until next time.
Unlock the full learning experience
You're previewing this lesson. Get full access to this lesson and hundreds more — each one ready to teach, with interactive activities, printable resources and pupil progress tracking built in.
This lesson is copyright of 123Learn.ie 2017 - 2026. Unauthorised use, copying or distribution is not allowed.